Wednesday, November 17, 2010

Partial Assembly

After I reassembled the forks I couldn't resist to do a little mock assembly. I'm going to tear it back down to drill the holes in the frame to run the wiring and cables, but here is a peek of it's stance. 

Fork Lube Job

First I cleaned the bushings and  unscrewed the fork springs, then I scrubbed the springs down in my trusty trash can of gasoline. (it was full when the project started)


Then I gave everything a good lube job, I wasn't sure what I should grease so I greased everything.
Below I reinstalled the bushings and dust cap on the forks then screwed the springs back into the fork arms.
Friendly Tip Below
PUT YOUR BUSHINGS AND CAP ON BEFORE YOU SCREW THE SPRING IN


Friday, November 12, 2010

Frame Update


I installed the forks and swing arm. I will post more pictures of the fork installation once I find my pictures.
The right hand image is a picture of my future brake light that i got from www.superbrightleds.com.

Mounted Tires


Mounted the tires, all went as planned and i'm happy with the results.

Handlebars and Controls


I painted my 19 mm intake I purchased  (thanx orangerobin) on www.Mopedarmy.com and painted my handlebar clamps, then I installed the controls and replaced the grips with some Kawasaki grips a friend gave me. They seem to be much better than the ones that came with the controls. I was a little disappointed that there wasn't a brake light switch holder :(. Now i'm on the hunt for some new M7x35 socket cap bolts to mount the handle bars. This is what my current ones look like, I'll clean them up and use them if i have to.


I also have to give www.TreatLand.tv a big thank you for having such great customer service, I would highly recommend them to anyone building a moped.

Sunday, October 31, 2010

Order New Part (Thanx Google)

Since i finally got my Google check, i decided it was time to buy some more parts.
I ordered this batch from Treat Land, the descriptions of the products on the site
crack me up. (you should check them out)
I've always had great service with them and 1977 Mopeds it just all depends on
who has what in stock.
let the list begin. :)


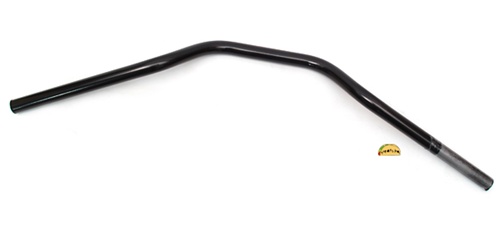
bikemaster black superbike low rise handlebars


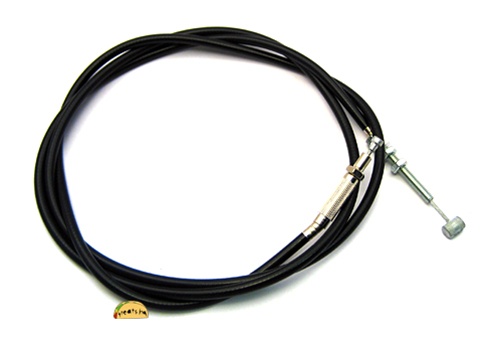
 lusito complete throttle control set - black


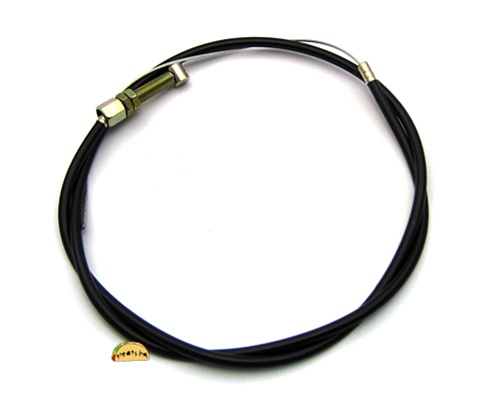
moped rear brake cable


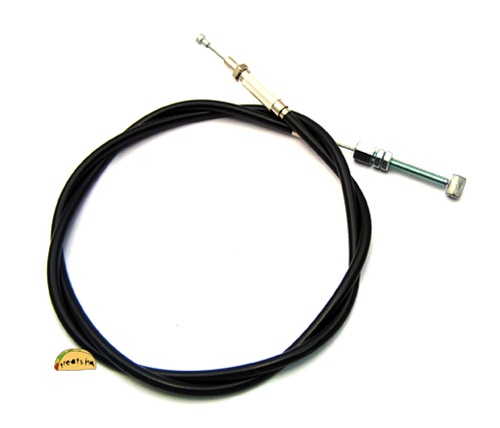
moped front brake cable


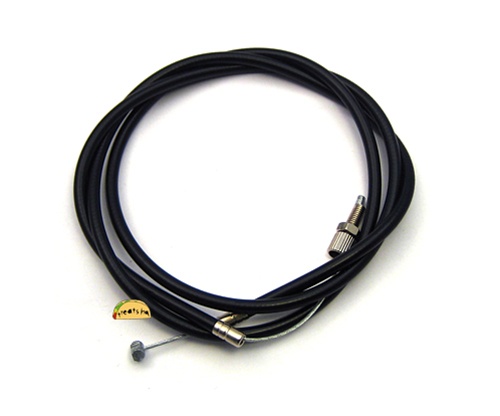
moped throttle cable for all mopeds


puch moped one speed E50 clutch cable


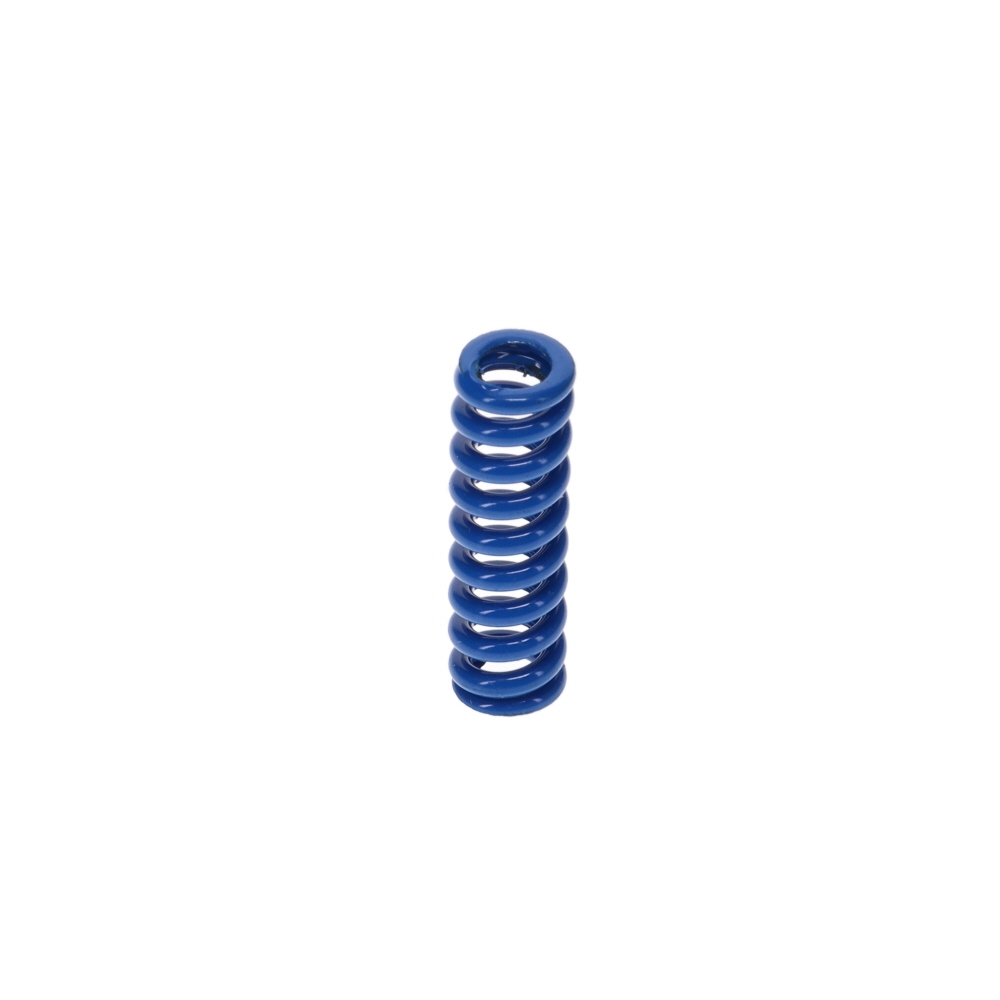
puch BLUE hi tension E50 clutch spring


 more expensive moped inner tube


 rubber rim strip 


I also ordered an intake for my carb, that should be in around the same time.
w00t!

Monday, October 25, 2010

Installing Engine Internals

I finally decided it was time to start putting stuff in the casing. w00t!

Giving the e50 one more bath before I put it to work. 


Next, I'm going to seal it up today and start the installation of the top end. 

Adding Area For Gasket

We didn't trust that there was enough area available for the gasket to make a good seal where the engine and the cylinder meet. So Bill thought it would be a good idea to add some area to the engine with some J-B Weld. So what the hell it couldn't hurt right.  Here we go.

Bill prepping the weld
We taped off all of the areas we didn't want the weld to get on
and put a piece of tape between the two case halves to prevent
the case from sticking together.


Cutting off the excess with a razor blade

Some soft filing to make flush. 
After we finished the next day I was organizing my work area and realized a piece of the weld came off :(
I think it was due to the very old JB "kwik" weld we used. 

I had to rip the top off to get it open :)
So the next day I went back to Auto Zone and picked up the J-B Weld Stik and redid the side that fell off. 
It worked great, no need to tape anything off. 
Side finished with the stick


Port Matching (Fix)

After visiting the Moped Army, I was told my best bet would be to J-B Weld the hole I created. So I went out and bought some "slow" curring J-B Weld and gave it a shot. 

I used heat shrink to fill in the screw hole trying to prevent the weld from
seeping into the hole. It ended up working really well.


After it dried over night, we scored the weld down the middle and it cracked it open with out a fuss.

Other side
Afterwards i did some more sanding and called it a day.
I hope it holds.

Port Matching e50

I want to start out by saying I know it's not perfect but once i went too deep on one side I didn't want to push my luck, I figured this is better than nothing.
This is for a "Cheapo 70cc Cylinder Kit" from www.1977mopeds.com

Install the gasket to mark the area that needs removed.

My markings with the gasket and studs removed
Some of the tools I used. 
The Bad Side
This is where it all went wrong. I guess the gasket outline
method isn't always the best. It looked like i had plenty of
room but I guess I was wrong. I stopped as soon as this
happened. Then I made a visit to the Moped Army to see
what my options were.
The First Side
It went pretty well I did smooth it out a bit more
afterthis picturewas taken.  I used a file and
sand paper for that. 

Tuesday, October 19, 2010

Main Gear Bearings

All went as planned, took off the old bearings with my puller and pressed the new ones on. 
Pulling off old bearings
Image of bare shaft
Installed snap ring
Image of both bearings installed, I used a press for the one on the right and
 a rubber malled  for the one of the left.

Sunday, October 17, 2010

Painted sprockets and brake assembly

I painted my rear wheel sprocket, brake assembly and my engine gear sprocket. 
I'm going to reassemble the rear wheel tomorrow after the paint has had time to completely dry
I'm sure it's not going to last long but it's worth a shot.


Saturday, October 16, 2010

Installed Wheel Bearings

These went in pretty easily a lot faster then getting the old ones out. I laid the bearings flush and gave it a whack with a rubber malled.  

Bearing 1
Bearing 2
Side note: I noticed I didn't have the bearing in far enough after
I took this picture. Make sure your bearing is pressed in far enough.


Don't forget the spacer between the bearings 

Rebuilding Idle Sprocket

I rebuilt my idle sprocket last night, it went pretty well. I cleaned the bearings, sprocket, and the gear stopper thing. I'm not sure what they are called but it's the little pieces that stops the sprocket from moving backwards. 
bearings, springs, and gear stoppers soaking in carb cleaner

Back side of Idle Sprocket with clean bearings packed in new grease
Once all the bearings are greased up it should be pretty easy to flip the
sprocket over  with out losing any bearings
I'm not sure what these are called but they seem to hold down the
clips that stop the sprocket from moving backwards and the screw cap.
Installing the clip things I was just referring to
and now the 3 ring covers
Installing the clean bearings and grease on the front side over the sprocket
All the bearings installed
Adding grease to the screw cap


After that I screwed the cap on (counter clock wise) and tapped it tight then spun it around a couple dozen times and wiped all the excess grease that seeped out.