Monday, April 4, 2011

Custom Intake Manifold


Trace Your Gasket

Drill Your Bolt Holes
File Your Port
Notice The Square to Circle Transition 
Old Motorcycle Bars
Make Your Cut
Perfect Intake
Handlebar Carnage

Confirm Clearance

Begin Your Weld

Wooded Jig To Line Up Ports

Begin to Grind
And File

Confirm Bolt Placement

Grassroot Art Work


Monday, January 24, 2011

Tail/Brake light mount

I've been looking for a pipe that would fit perfectly in the tail end of the frame, but I haven't had much luck with that. This piece is pretty close. When mounted in the frame, I should be able to unscrew the light and keep the base in place. I'm thinking I will use hot glue to secure the pipe in the end of the frame. I"ll make and update once i get it mounted. I"m hoping sometime in the future to find a metal pipe so i can use some jb weld to mount it in the frame. 

Brake Light Wiring

I started by drilling two/three holes into my frame. I say three because there is two layers you have to drill through on the top bar of the frame. I used a vacuum to pull a thread through the frame, then i tied 2 fishing lines to the string and pulled that through. I used two lines instead of one because my holes weren't big enough to run them both at the same time. Over all it was a PIA but i think it's going to be well worth it in the end, but I have decided to not run the wires going to the front forks in the frame. (by the way, the wire does run out the back for my tail/brake light)


Friday, December 31, 2010

A Little Progress

Over the last month I didn't get as much done as I would have liked, but between getting sick and the holidays time just flew by. My new site Mopeds 101 has been taking up some of my time also (thank you to everyone that has joined the forum). Ok, back to the Magnum.

I received my tank in, it's not a magnum tank but with a little modification it should work pretty well. 

I also installed the cylinder and head, I don't have pictures of the actually process. I can only do so much with two hands :).

Image of the my stator plate with the brown wire moved to the top of the plate instead of the bottom. I also  used a dremmel cut off the extra length the screw had on the bottom.

Oh yea, my wife wanted her dinning room table back so I moved my operation into my office.

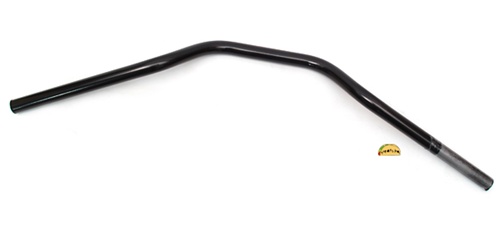
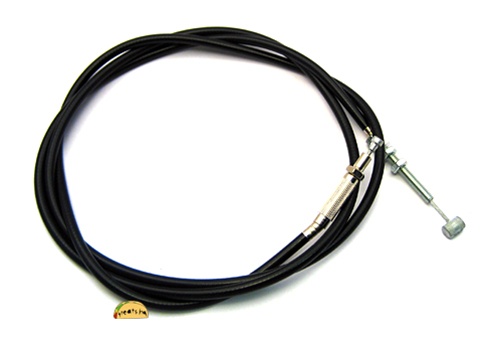
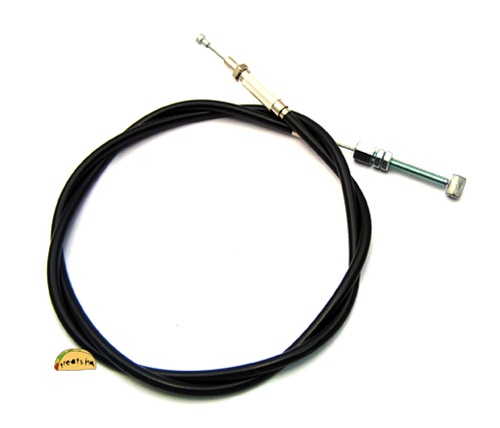
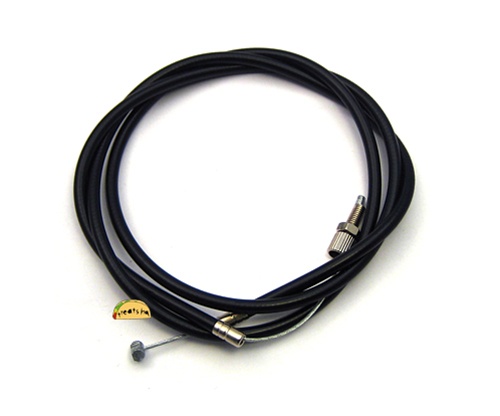
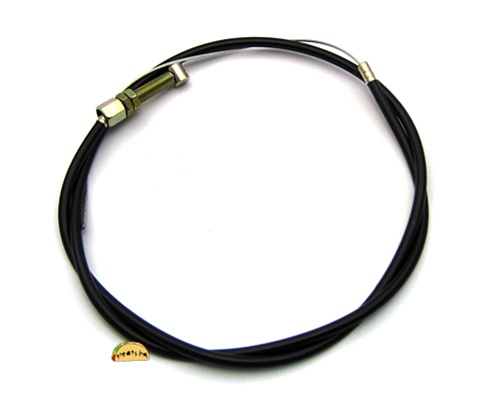
I also tried to hook up my brake cables, but the front seems to be too short and the back is doing something funky. I got pretty frustrated so I moved on to something else. I also picked up some parts to assemble my tail light. I'll have pictures of that soon. 


Wednesday, November 17, 2010

Partial Assembly

After I reassembled the forks I couldn't resist to do a little mock assembly. I'm going to tear it back down to drill the holes in the frame to run the wiring and cables, but here is a peek of it's stance. 

Fork Lube Job

First I cleaned the bushings and  unscrewed the fork springs, then I scrubbed the springs down in my trusty trash can of gasoline. (it was full when the project started)


Then I gave everything a good lube job, I wasn't sure what I should grease so I greased everything.
Below I reinstalled the bushings and dust cap on the forks then screwed the springs back into the fork arms.
Friendly Tip Below
PUT YOUR BUSHINGS AND CAP ON BEFORE YOU SCREW THE SPRING IN


Friday, November 12, 2010

Frame Update


I installed the forks and swing arm. I will post more pictures of the fork installation once I find my pictures.
The right hand image is a picture of my future brake light that i got from www.superbrightleds.com.

Mounted Tires


Mounted the tires, all went as planned and i'm happy with the results.

Handlebars and Controls


I painted my 19 mm intake I purchased  (thanx orangerobin) on www.Mopedarmy.com and painted my handlebar clamps, then I installed the controls and replaced the grips with some Kawasaki grips a friend gave me. They seem to be much better than the ones that came with the controls. I was a little disappointed that there wasn't a brake light switch holder :(. Now i'm on the hunt for some new M7x35 socket cap bolts to mount the handle bars. This is what my current ones look like, I'll clean them up and use them if i have to.


I also have to give www.TreatLand.tv a big thank you for having such great customer service, I would highly recommend them to anyone building a moped.

Sunday, October 31, 2010

Order New Part (Thanx Google)

Since i finally got my Google check, i decided it was time to buy some more parts.
I ordered this batch from Treat Land, the descriptions of the products on the site
crack me up. (you should check them out)
I've always had great service with them and 1977 Mopeds it just all depends on
who has what in stock.
let the list begin. :)


bikemaster black superbike low rise handlebars


 lusito complete throttle control set - black


moped rear brake cable


moped front brake cable


moped throttle cable for all mopeds


puch moped one speed E50 clutch cable


puch BLUE hi tension E50 clutch spring


 more expensive moped inner tube


 rubber rim strip 


I also ordered an intake for my carb, that should be in around the same time.
w00t!